how to back up an iPhone or iPad ?
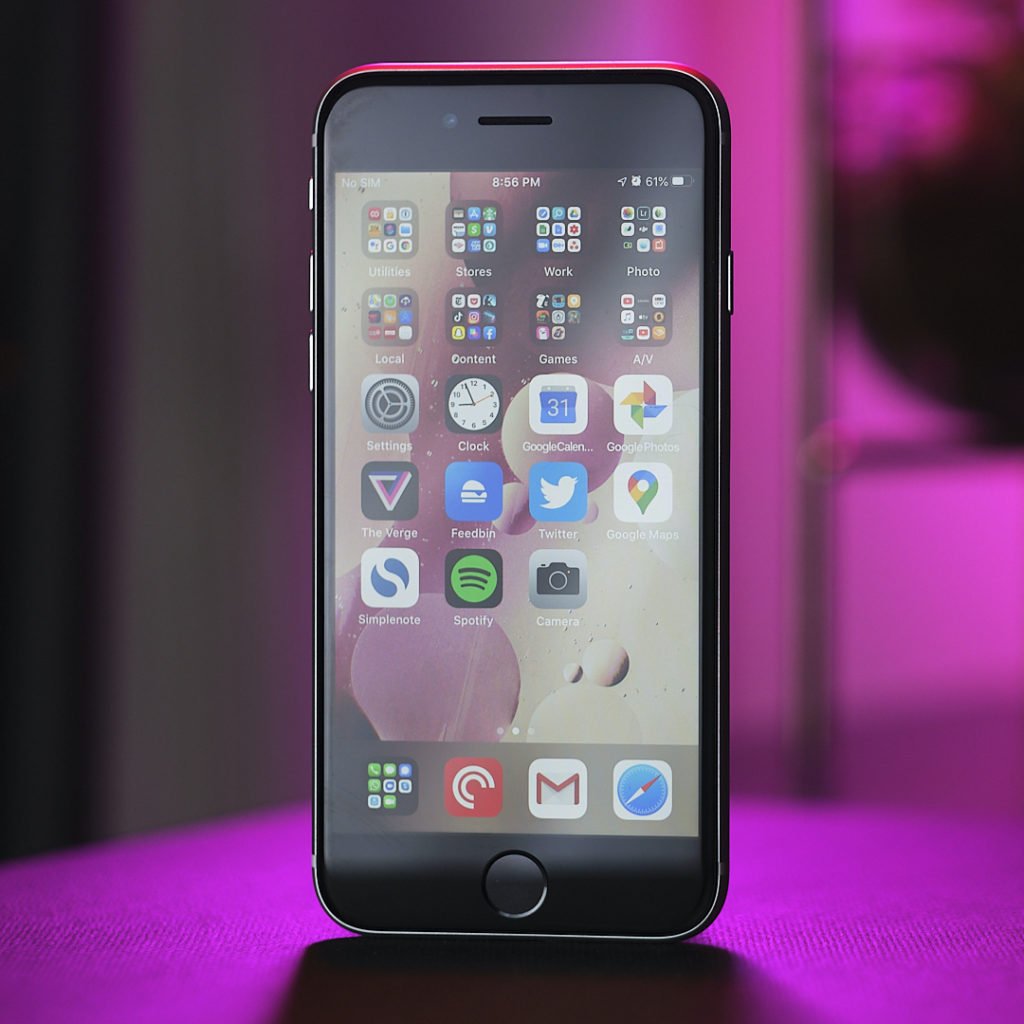
Backing up data is very easy to do and also it’s extremely important.

Why you should back up your iPhone & iPad ?
Our iPhones and iPads are among the most mission-critical possessions we have. Putting aside the financial worth of each device, these little slabs of silicon and glass have become the central repositories for once-in-a-lifetime photographic memories and important documents alike.
Making sure that all of this precious data is backed up somewhere is a crucial safeguard against theft, loss or accidental damage.
Choosing a backup method
Thankfully there are many ways to back up your iPhone or iPad, whether to the web or your PC or Mac, all of which are free and easy to use.
Apple’s iCloud service means your iDevice can constantly sync important data with web-based servers, and iTunes – for the time being; things will work differently when macOS Catalina launches – also offers a simple one-click backup facility. (Wondering which is better? See Should I back up to iTunes or iCloud?) And there are several good third-party services that offer a variety of options.
As a safety precaution we recommend using at least two of the available solutions. That way, if the worst happens and your backup is somehow corrupted, you’ll have another version to fall back on.
- Back up to iCloud
- Back up to a computer
using Apple’s own iCloud service is simple & viable
Each Apple ID has 5GB of storage available, in which you can store bookmarks, contacts, calendars, iCloud documents, mail message, notes, and your iCloud photo library. If you take lots of pictures and videos then you may need to upgrade the storage capacity, as it will fill up pretty quickly. At the moment Apple offers 50GB for 79p/$0.99 per month, 200GB for £2.49/$2.99 a month, and 2TB for £6.99/$9.99 a month.
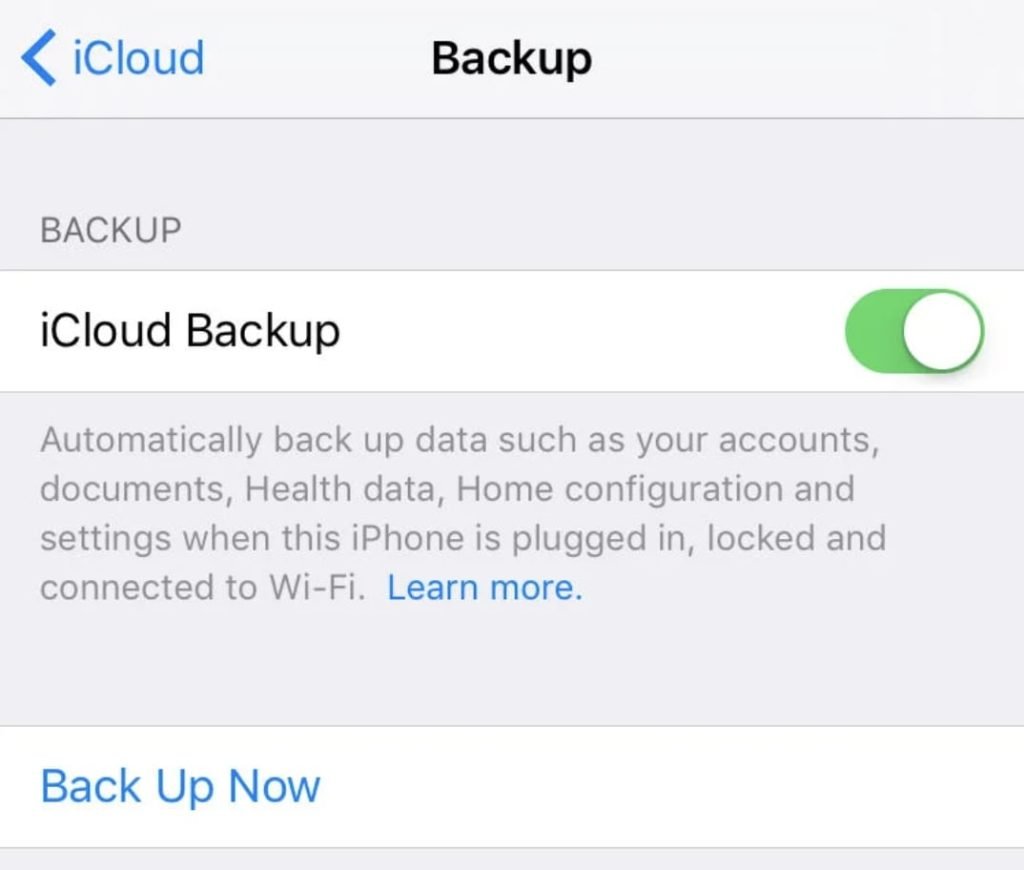
iCloud backups are very easy to set up and once done they will automatically run in the background each time your device is plugged in and on a Wi-Fi connection.
One should own a iCloud account.
On your Apple device, open the Settings app. You’ll see your name and picture (if you’ve saved one) at the top – tap this. Now select iCloud, and on the next screen scroll down and tap iCloud Backup, the last entry on the long list of ‘Apps using iCloud’.
If you want to erase the contents of your iPhone or iPad because you’re selling it, or because it’s not working properly,
Back up to a computer:
local backup is always a good idea, as it means you’ve got a copy you control, rather than trusting to the all-powerful cloud.
First off, plug the iPhone into your Mac or PC. In the top lefthand corner, under the play controls, you’ll see a little icon of a phone: click this and you’ll be taken to the menu for your device. If you ensure that Summary is selected in the lefthand column, you’ll now have three boxes in the main pane, the middle of which is entitled Backups.
you’ll see the option to create a backup manually. Clicking the ‘Back Up Now’ button will do exactly that, with the length of time it takes dependent on how full your phone’s storage is at that moment. Next to this is the Restore from Backup option, which is where you would head if you wanted to reinstall everything after replacing your iPhone.
what is included in the backup ?
Any photos currently on the device will be stored, as will contacts, calendar accounts, Safari bookmarks, notes, call history, profiles and several other types of data. Apple has an extensive list of all the things contained in a backup, which you can read here.
The iTunes backup doesn’t make extra copies of any media files, though, so films, music and apps bought from iTunes will need to be downloaded again from the site or your PC. (The iPhone/iPad will do this automatically when you restore from the backup, however.)


